Do you know how long I have had this video up, and having even told you about it?? Well, a good while, that's how long! I've had many people ask me how I make my no-chill pie dough, and I know I have promised you the recipe for years, Dear Reader. I love that this is no-chill, because other types take at least an hour in the fridge. And, much like making biscuits, I feel the best way to learn how to make pie crust is to SEE it done. Hence this handy-dandy, super corny video. (would your expect anything less than corny? I think not.) And so, here is the link- Pie Dough Video
But, just in case you hate videos, or you just need to see more pictures, here is a little rundown of the basics of pie crust...
There are only four ingredients: flour, salt, water and lard. The techniques for making pie crust are best practiced by making biscuits first and getting a feel for the dough. I always recommend that everyone start with biscuits so that they have some practice with it before starting the slightly trickier process of pie dough. If you have never made homemade biscuits, please check out my video and try you at least one batch. Really, sugar, it can make the difference between feeling confident about things, or standing there yelling at pie dough that is glued to your table :(. Here's the video, Making Biscuits). If you have made the biscuits before, then you will already have lard on hand.Yes, you can use shortening, but I explain in the video the virtues of lard. Quite simply, folks, it makes the lightest, flakiest pie crust you will put in your mouth. I'm going to put the recipe for both a single and a double crust at the end, so skip there if you want to...Otherwise, here's a quick rundown of pie crust making.
Mix the salt and flour, then cut your pastry cutter to work in the lard. I've said before, I am not one for lots of tools, but a pastry cutter is something I would encourage every aspiring baker to have. I really think the old ones work best. This one was my great-granny's.
Wehn you have the lard worked into small lumps, add the water and use a spoon to mix in, pressing the water into the flour and scraping it toegther.
It will begin to come together into a shaggy looking dough.
Then you simply use your hand to gather it, pressing it into a lump.
Unlike our biscuits, DO NOT KNEAD THE DOUGH. This will create gluten and make tough dough that makes to shrink. Simply place the compacted lump out on a sheet of waxed paper. This is one of the best tips I can pass along. The waxed, or parchment, paper will make your task so much easier.Flour your paper and douhg and roll out a tad thinner than then the thickness of two quarters stacked.
Place your pie pan on the dough and cut around it, adding about an inch and a half of extra around the pan.
Now the waxed paper comes into play! No sticking to the table, no tears, no fuss! I show how to remove it in the video so that You have a neatly folded "v" of dough.
Place this with the point in the very center of the plate, and unfold.
Drape the dough down in to the pan, never stretch...
And gently press around the side to keep the dough from slipping down.
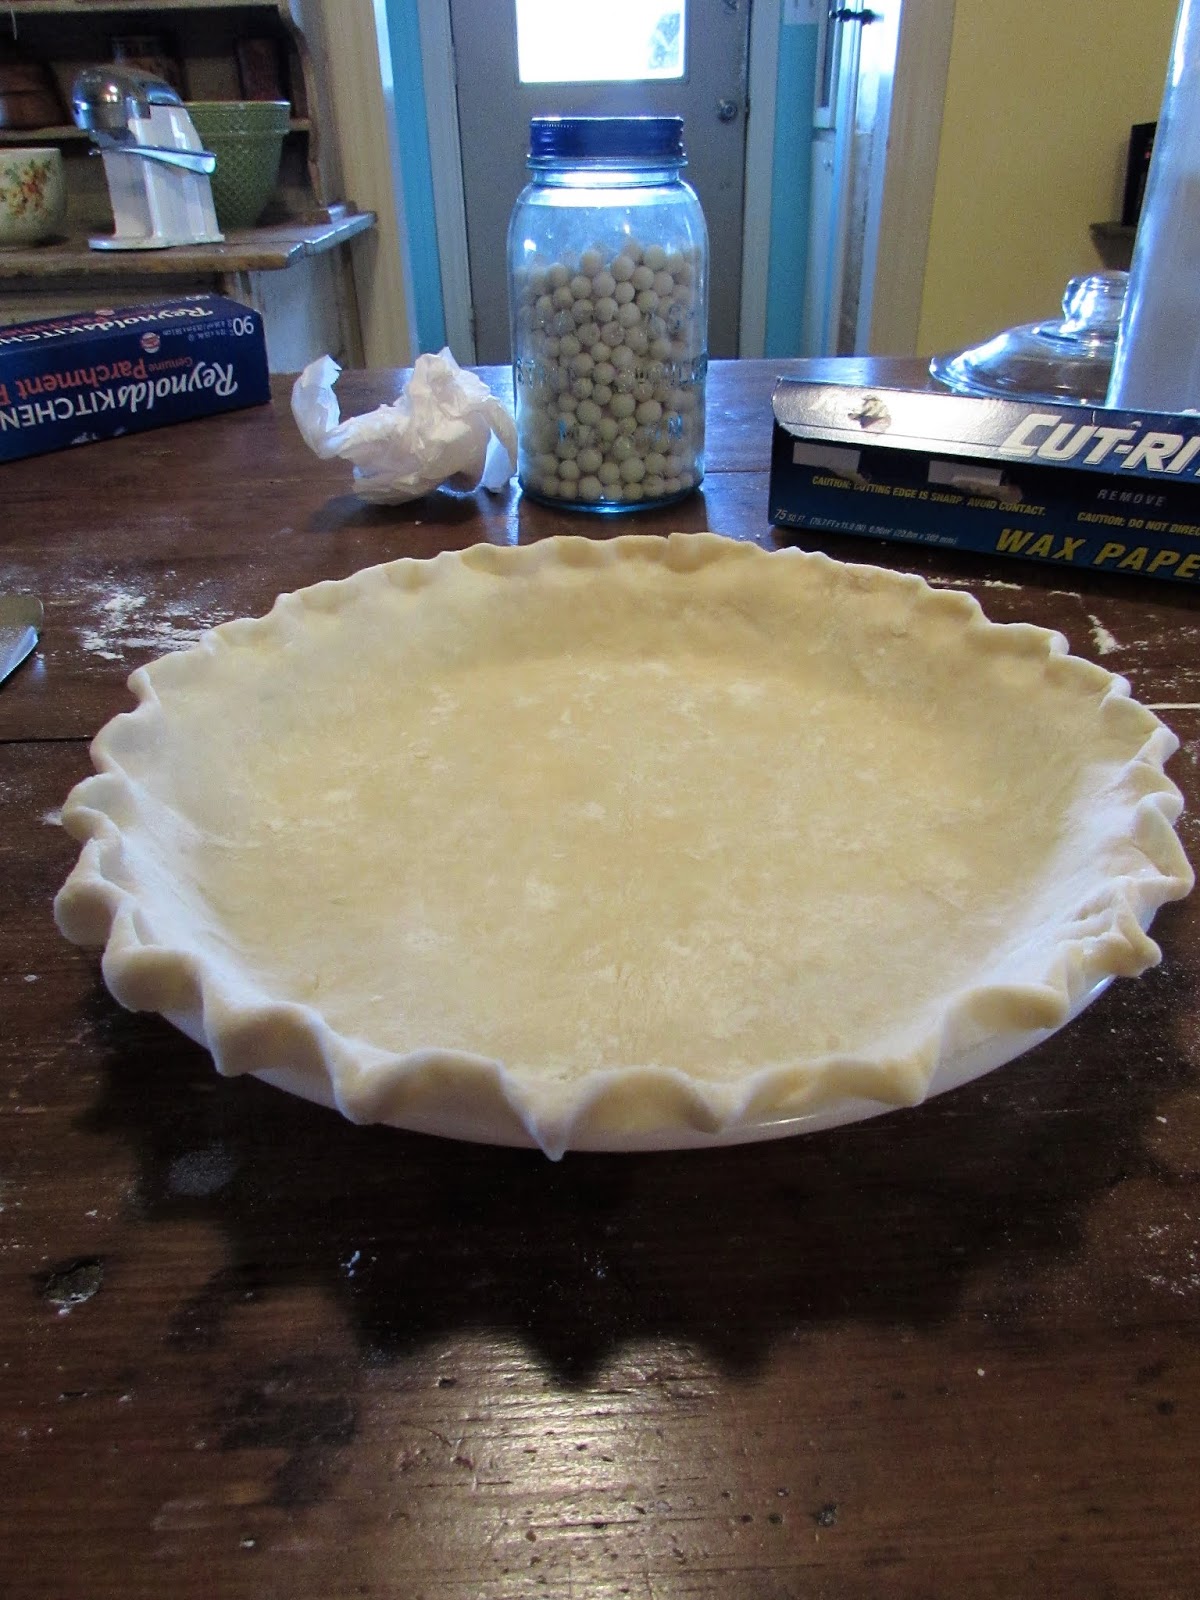
Turn the excess dough under the edge, rolling under, and sitting on the rim of the pan.
Then flute the edge by pressing it with the a knuckle between the thumb and forefinger. (It's easier to watch the video and understand...)
Now what you do with the pie depends on what kind you are making. For a double crust you would fill before fluting, place on a top crust, and then flute the two edges together and bake.
If you are making certain custards, you can simply pour the filling into the raw crust and bake. Here is a buttermilk and a raspberry custard.
But other pie recipes ask that you "blind bake" the pie. This simply means you will cook it before putting any filling in.
In the video I talk about different things you can use to line and fill the crust. I also tell you about using your scraps for yummy cinnamon strips! And below is the beautiful, golden crust, all ready to be filled!
Here is the crust filled with my dark chocolate custard and topped with coffee whipped cream. So good! And, Dear Reader, the mark of a well-baked pie crust is that the sliced come out perfect and clean. Do you see that perfect wedge out of the pie? I really hope you enjoyed the pictures, but I wish you would go and have a gander at the video. It is so much better to actually see how all this comes together. And if you make it, I want to hear what you think!
Pie Crust Recipe
single
1 ½
cups flour
heaping 1/2 tsp salt
1/2 cup lard
1/3 cup water
double crust
2 ¼ cups flour
1 1/2 tsp salt
3/4 + 2 Tbsp lard
1/2-3/4 cup water
Stir
together salt and flour, cut in lard. Pour in ½ of the amount of
water and stir, pressing and scraping mix. Add just enough additional
water to bring most of the dry flour together. Stir only till a
shaggy mass. DO NOT KNEAD. Press together with hands into a ball. For
a double crust separate into two balls. Cover counter with sheet of
waxed paper and sprinkle well with flour. Place dough ball in center
and flour it and the rolling pin. Roll out in all directions equally
until thin. Approx the thickness of 2 quarters stacked. Place pie plate in center and cut a 2 inch wide diameter
around pan. Place scraps to the side. Pick up the waxed paper and
pull away the dough until you can fold it over on itself in half.
Pull up more and fold in fourths. Remove from paper and center in
dish. Unfold and tuck the dough down into the plate, pressing bottom
and sides to secure.
If
a single crust, trim edges to near plate rim , turn edges under and
crimp by pressing with a knuckle between thumb and forefinger. It is
then ready to fill. To be blind-baked, prick the bottom
with a fork and cover the bottom with a sheet of parchment, crumpled and then smoothed out. Pour in baking
beads or dried beans. Bake at 375 degrees for 15 minutes, then remove paper and bake a further 7-9 minutes or until golden and dry. If
needed, shield the crust rim with a sheet of foil with a circle cut
from the center.
For
a double crust, trim the dough near the plate rim. Pour in filling and
roll out the second ball of dough. Center over the pie and trim
approx 1/2 inch from edge. Turn both crusts under , toward the rim,
and crimp or press with a fork. Bake as desired, shielding the crust
as it browns.
Scraps
can be used to decorate raw pies and cooked with it, baked on a
separate sheet and placed on the finished pie, or they can be cut in
strips and sprinkled with cinnamon sugar for a snack.


Comments
Post a Comment
Hey, sugar, I'd love to hear from you! If, for some odd reason, this won't let you comment, please send me a message at mssamwearsdresses@gmail.com. Thanks a ton!